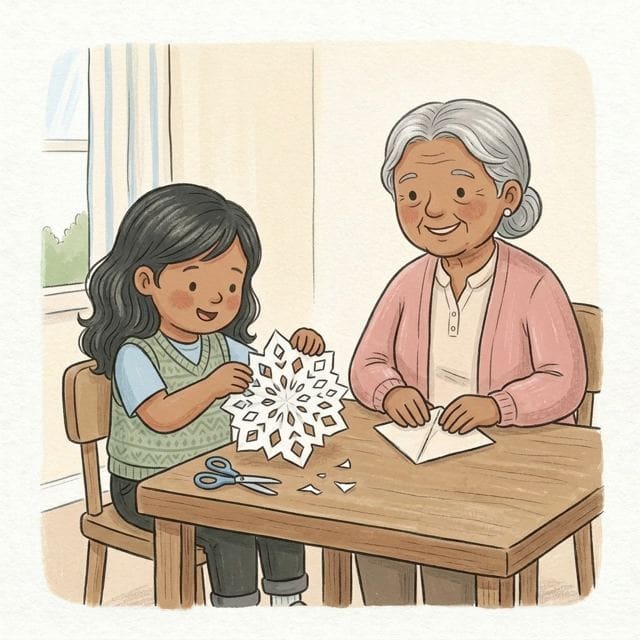
Paper Snowflakes
What you need
- squares of thin paper, like printer paper
- child scissors
- tape for the window
How to do it
- Fold a square in half, in half again, then once more corner to corner, so it's a small, thick triangle.
- Hold it for your child while they snip little bits out of the edges: triangles, nicks and curves.
- Open it up slowly together and look at the pattern the snips have made.
- Make a few more, all different, and tape them to the window.
Why it matters
Opening the folds shows a pattern they couldn't see while they were snipping, so every snowflake is a small surprise.
What they're learning
- Snipping thick paper
- Small cuts through all the folds at once.
- Patterns
- One snip repeated all the way round.
- Shapes
- Triangles and circles where the snips were.
What to look for
Notice them guessing what the pattern will look like before you open it.
A tip
Thin paper is far easier to snip once it's folded, so printer paper works better than card. Sit beside them while the scissors are out and put them away when you finish. Children's safety scissors only.
Make it easier or harder
Easier: fold the paper just once and snip into the fold
Harder: let them fold their own square and snip particular shapes, like a triangle or a half circle
More like this

Browse
Fine motor activities · Toddler activities with paper · Toddler activities with masking tape