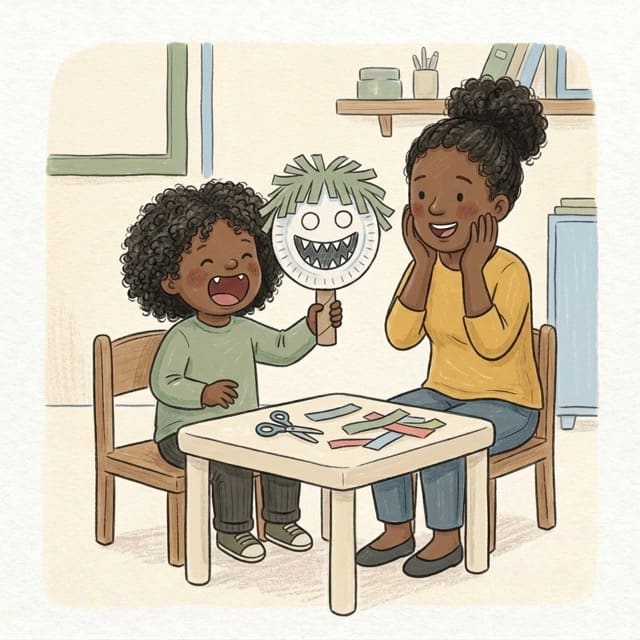
Paper Plate Monster Mask
What you need
- a paper plate
- crayons
- strips of coloured paper for hair
- child scissors
- sticky tape
- a toilet roll tube for a handle
How to do it
- Cut two eye holes in the plate for your child, then let them draw a monster face round them: a big mouth, a nose, spiky teeth.
- Snip the paper strips into fringes or short pieces for hair, and tape them round the top of the plate.
- Tape the tube to the bottom as a handle so they can hold the mask in front of their face.
- Give it a monster name, then take turns behind the mask: roar, then say hello in a friendly monster voice.
Why it matters
A big circle is an easy place for eyes, a nose and a mouth, and snipping the hair finishes the job. Then the mask lets them try being scary, and friendly.
What they're learning
- Drawing a face
- Eyes, nose and mouth placed on a circle.
- Snipping a fringe
- Short snips along a strip for spiky hair.
- Trying on a feeling
- Scary for a roar, friendly for a hello.
What to look for
Notice them adding the parts of a face in their own order.
A tip
You cut the eye holes; they snip the hair with child scissors, with you right beside them.
Make it easier or harder
Easier: draw the face together and tape on uncut paper strips for hair
Harder: make two masks, a cross monster and a happy one, and act out how each one feels
More like this
Browse
Fine motor activities · Toddler activities with paper · Toddler activities with masking tape