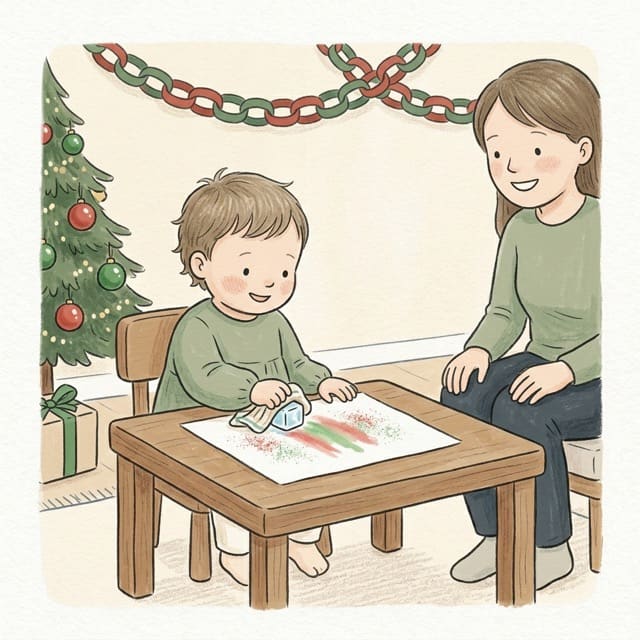
Ice Painting
What you need
- a plastic tub
- a little paint or food colouring mixed with water in two or three cups
- a chunky paintbrush
- a tray
- a wipe-clean mat
How to do it
- Tip the ice block out onto the tray and give your toddler the paintbrush and the cups of colour.
- Paint the ice together and watch the colour run down into the cracks.
- Lift the ice up to the window together and look at the light shining and sparkling through the colours.
- Paint another side, touch it to feel how cold and slippery it is, and watch the colours mix.
Why it matters
Colour that runs and spreads on cold ice is magic to them, and watching it change keeps them painting.
What they're learning
- Brush control
- Painting on a slippery block takes a steady hand on the brush.
- Watching change
- Colour running and ice melting are changes they can see happening.
- Colour mixing
- Blue running into yellow and making green is a surprise they made themselves.
What to look for
Watch for them painting the same spot again and again to see the colour run. Stay close, nothing in mouths. Bits of ice count too.
A tip
Put the tray on a wipe-clean mat and wear old clothes, as food colouring can stain.
Make it easier or harder
Easier: drip the colour on with a spoon instead of a brush
Harder: sprinkle a pinch of salt on the ice and watch little holes and tunnels appear, keeping the salt pot with you
More like this
Browse
Sensory activities · Activities for 2 year olds · Toddler activities with cups · Toddler activities with a tray · Toddler water activities