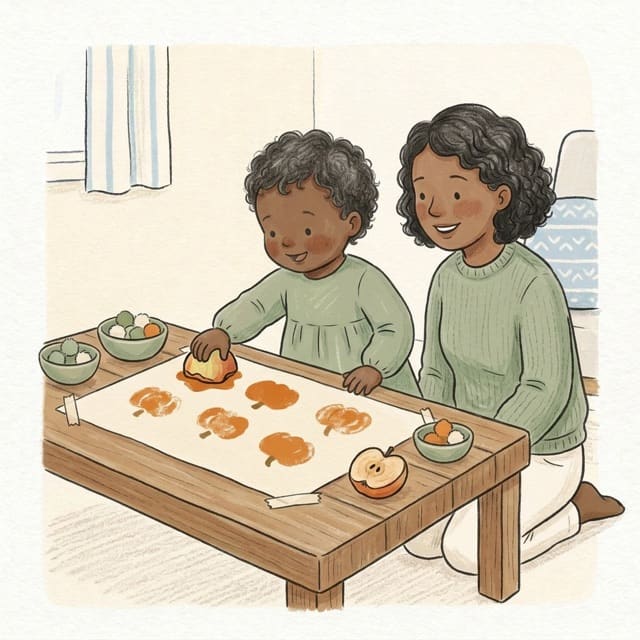
Pumpkin Stamp Painting
What you need
- an apple, cut in half by you
- orange washable paint on a plate
- paper
How to do it
- Cut an apple in half across the middle, then pat the cut side dry with a cloth.
- Pour a thin layer of orange paint on a plate and show them how to press the flat side of the apple into it.
- Let them stamp the apple onto the paper, lift it and look at the round orange pumpkin it leaves behind.
- Keep stamping together to fill the page with a row of pumpkins, re-dipping the apple each time.
- Dip a finger in green paint and add a short stalk on top of each pumpkin.
Why it matters
Pressing, lifting and lining up prints asks for steady little arm movements, and seeing a pumpkin appear from an apple shows them that their actions make things happen.
What they're learning
- Pressing and lifting
- Pressing the apple down and lifting it straight up builds the controlled arm movements they will later use for writing.
- Cause and effect
- Seeing a pumpkin appear every time they press shows them that what they do changes what they see.
- Pattern and repeat
- Stamping one pumpkin after another in a row is an early step towards spotting and making patterns.
What to look for
Watch for them lifting the apple up carefully to peek at the print underneath. Use washable, non-toxic paint, do the cutting yourself, and keep the painted apple pieces out of mouths.
A tip
Put the paper on a tray or an old sheet and keep a damp cloth handy for orange fingers.
Make it easier or harder
Easier: you hold the apple half steady while they press down on the back of it
Harder: stamp a row of pumpkins from the biggest to the smallest by using a smaller apple half too
More like this
Browse
Fine motor activities · Activities for 2 year olds · Toddler activities with paper