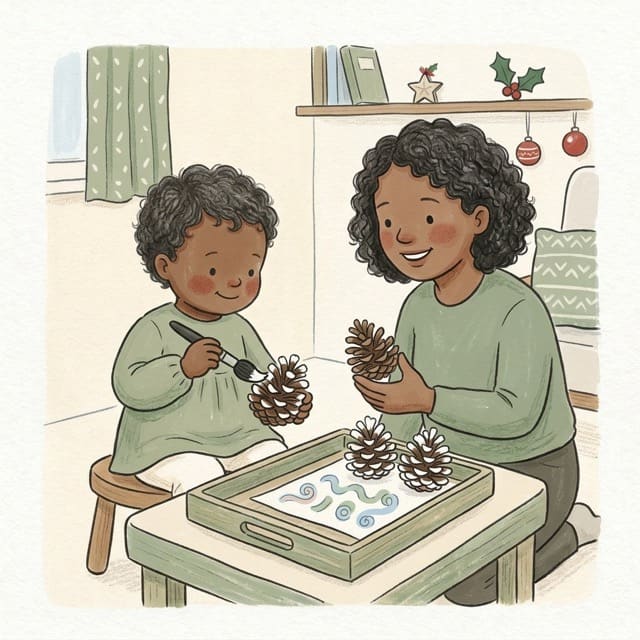
Pine Cone Painting
What you need
- three or four big pine cones
- white and coloured paint on a paper plate
- a chunky paintbrush
- a big sheet of paper
- a tray
How to do it
- Put the cones, paint and paper on the tray and feel the bumpy, scaly cones together first.
- Let your toddler dab white paint on the tips with the brush, like snow on the branches.
- Dip a cone in coloured paint and roll it across the paper to see the pattern it makes.
- Stand the painted cones on the tray by the window to dry, then line them up and look.
Why it matters
A bumpy cone is a tricky shape to paint, so they slow down and use the brush with care, and rolling it makes a pattern they did not expect.
What they're learning
- Using a brush
- Dabbing paint onto small tips takes a steady hand and a careful grip.
- Colours
- Choosing and naming each colour as it goes on links words to what they see.
- Patterns
- Rolling a cone leaves a pattern, and they get curious about what a different cone will make.
What to look for
Watch for them turning the cone in one hand to reach a new side with the brush. Stay close, nothing in mouths.
A tip
Use washable paint, check the cones for loose bits first, and cover the table before you start.
Make it easier or harder
Easier: skip the brush and roll the cones through paint on the plate
Harder: collect the cones together on a walk first, then paint the next day
More like this
Browse
Sensory activities · Activities for 2 year olds · Toddler activities with a tray · Toddler activities with paper