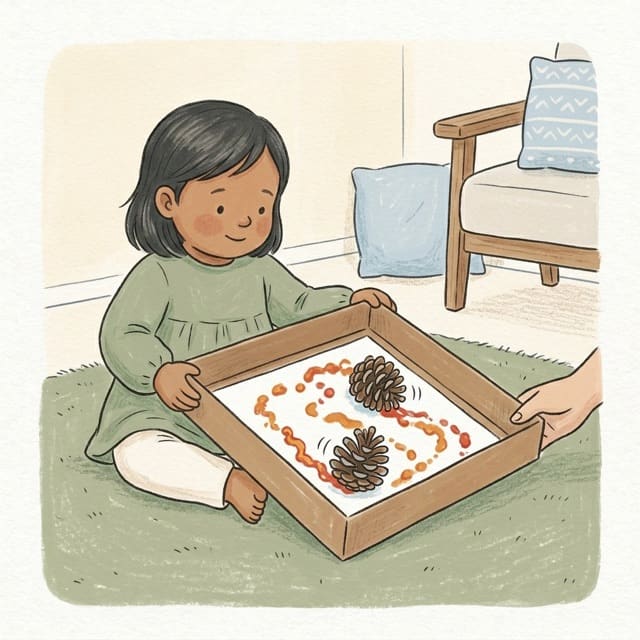
Pine Cone Paint Roll
What you need
- a shallow cardboard box lid
- a sheet of paper cut to fit
- washable paint in two colours
- two or three big pine cones
How to do it
- Lay the paper in the box lid and drop a few small blobs of paint on it.
- Put the pine cones in and show them how to tip the lid gently from side to side.
- Let them tilt, shake and rock the lid so the cones roll through the paint.
- Lift the cones out and look at the bumpy lines they left behind.
- Leave the paper to dry and hang it up.
Why it matters
The pine cones do the painting, so they get a busy, bumpy picture from tipping and shaking alone.
What they're learning
- Two hands together
- Tilting the lid takes both hands moving at once.
- Cause and effect
- Each tilt sends the cones rolling, and the paint shows where they went.
- Making marks
- They are making a picture without a brush or a crayon.
What to look for
Watch how hard they tip. A gentle tip makes thin lines, a big shake makes splodges, and both are good.
A tip
Use big pine cones and check for loose scales first. Washable paint and a wipe-clean floor make clearing up quick.
Make it easier or harder
Easier: hold one side of the lid while they tip the other
Harder: give them a pine cone to hold and roll by hand across a second sheet of paper
More like this
Browse
Fine motor activities · Activities for 1 year olds · Activities for 18 month olds · Toddler activities with paper · Toddler activities with jar lids